I’ve decided to dive into sweater design, head-on and with full knowledge that I’m probably a little crazy. For proof of my craziness, know that I have only knit two sweaters before – a lace sweater and a cabled sweater – and my third sweater will be the first of my own design. Oh, and it’s also an icelandic Lopapeysa.
Like many others, news of the Thanksgiving KnitPicks sale sent me scurrying to my wallet for my credit card information, and I came away with enough KnitPicks Wool of the Andes for my planned colorwork sweater for a mere $35. A steal, I know.
None of the patterns I saw on Ravelry quite matched my vision. I wanted something fitted, something with a contrasting waistband, something befitting my vaguely University of Illinois-themed color palette. So, I decided to design my own. I’m about a week into the process and it’s proving to be far easier than I imagined.
Step one: Measure every single inch of your torso – shoulders, waist, underbust, bust, overbust, underarm, wrist, shoulder-to-bellybutton, even your head circumference, to make sure the neck-hole has enough clearance.

Step two: Chart the pattern for the yoke and collars

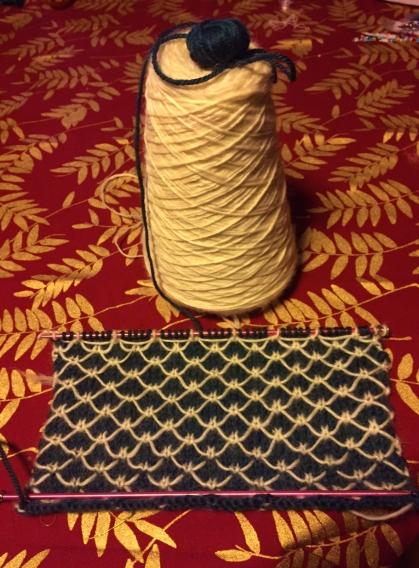
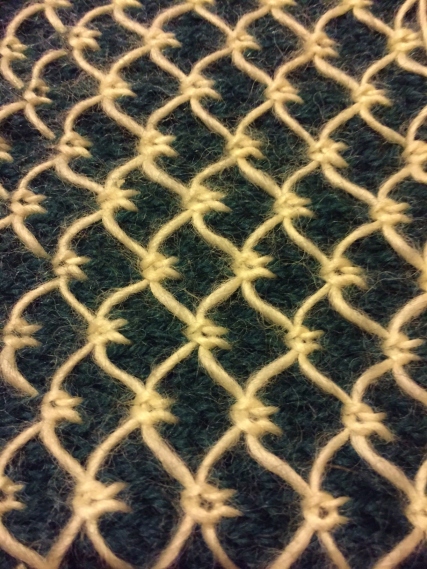
Step three: Swatch everything (in the round!) – and measure your gauge carefully.I swatched the fabric in its natural state as well as stretched out (as this sweater isn’t going to have too much ease).

Step four: Math. Sweaters take a lot more math than one might expect – cautiously calculate the exact number of stitches you’ll need for each part of the sweater.
Step five: Cast on and start going.
Currently I’m about seven inches into the torso of the sweater. I’ve tried it on probably four or five times now, and so far everything’s going swimmingly.
I’m kind of in love. The cabled ribbing is my favorite part, and I’m so excited to get to the yoke.